Custom Dolly is my first WordPress plugin. It extends the Hello Dolly plugin by allowing you to add the lyrics of any song you choose. In this post we’ll go through the plugin code and see how it works.
You can download the Custom Dolly plugin from the WordPress plugin respository.
What it does
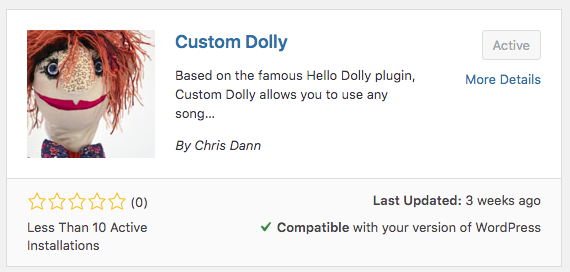
Everyone who has ever used WordPress is familiar with the Hello Dolly plugin, which displays a random lyrics from the Louis Armstrong on every admin screen.
Custom Dolly adds another option to the “appearance” menu.
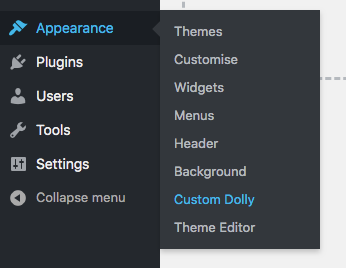
Clicking on this option opens the Custom Dolly admin page
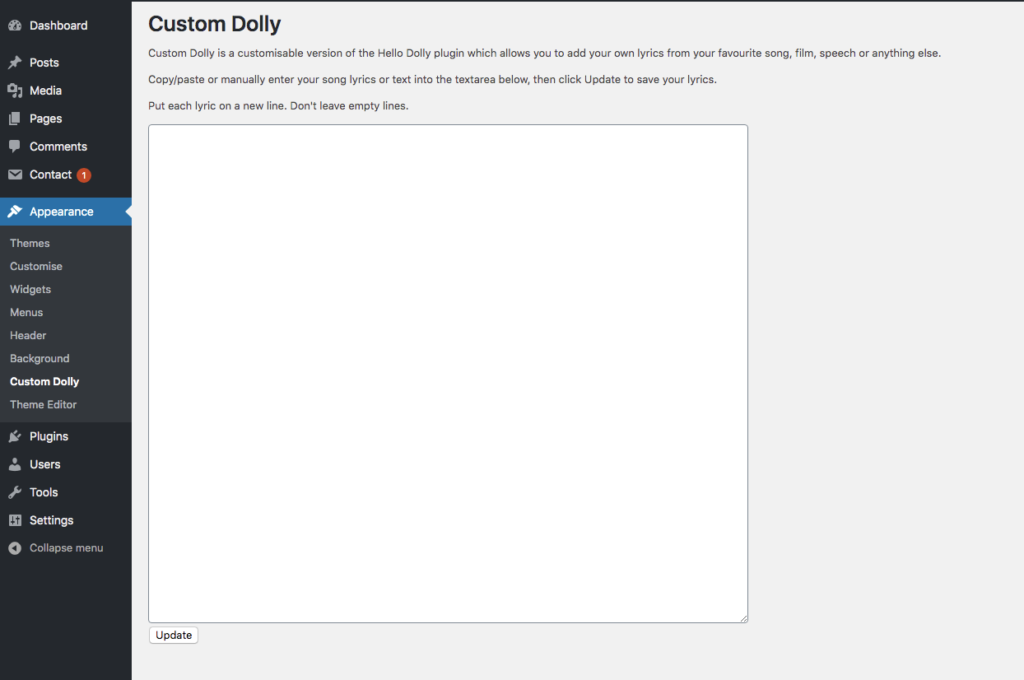
All we have to do now is add some song lyrics. You can copy/paste and edit or type them in manually as you like.

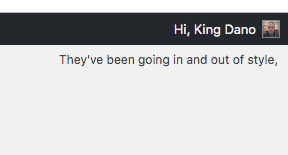
Once we hit “update”, a random line from the song will appear on every admin page, just like in the Hello Dolly plugin
So let’s see how it all works. First of all the full code:
The entire plugin code
<?php
/*
* Plugin Name: Custom Dolly
* Description: Based on the Hello Dolly plugin by Matt Mullenweg, with Custom Dolly you can set your own lyrics from the WordPress Admin.
* Author: Chris Dann
* Version: 1.0.0
* License: GPL v2 or later
* License URI: https://www.gnu.org/licenses/gpl-2.0.html
* Text Domain: custom-dolly

Custom Dolly is free software: you can redistribute it and/or modify
it under the terms of the GNU General Public License as published by
the Free Software Foundation, either version 2 of the License, or
any later version.

Custom Dolly is distributed in the hope that it will be useful,
but WITHOUT ANY WARRANTY; without even the implied warranty of
MERCHANTABILITY or FITNESS FOR A PARTICULAR PURPOSE. See the
GNU General Public License for more details.

You should have received a copy of the GNU General Public License
along with Custom Dolly. If not, see  https://www.gnu.org/licenses/gpl-2.0.html.
*/

// Register the lyrics post type
function customdolly_register_post_types() {

	$args = array(
		'public' => false
	);
	register_post_type( 'lyrics', $args);
}
add_action( 'init', 'customdolly_register_post_types');

// Register custom admin page for the plugin for administrators
function customdolly_admin_menu() {

    add_theme_page(
        __( 'Custom Dolly', 'custom-dolly' ),
        __( 'Custom Dolly', 'custom-dolly' ),
        'manage_options',
        'custom-dolly',
        'customdolly_admin_page_contents'
    );
}
add_action( 'admin_menu', 'customdolly_admin_menu' );

// Create new post with updated lyrics when they are submitted via plugin admin page
function customdolly_update_lyrics(){

    wp_verify_nonce('customdolly_lyrics_update', 'customdollynoncefield');
    $post_args = array(
        'post_type' => 'lyrics',
        'post_status' => 'publish',
        'post_title' => 'Custom Dolly Data',
        'post_content' => sanitize_textarea_field($_POST['customdollylyrics'])
    );

    wp_insert_post($post_args);
    wp_redirect(admin_url('admin.php?page=custom-dolly'));
    die();
}
add_action('admin_post_customdolly_submit','customdolly_update_lyrics');

// The contents of the admin page - display
function customdolly_admin_page_contents() {
    ?>
        <h1><?php esc_html_e('Custom Dolly', 'custom-dolly'); ?></h1>
        <p><?php esc_html_e('Custom Dolly is a customisable version of the Hello Dolly plugin which allows you to add your own lyrics from your favourite song, film, speech or anything else.', 'custom-dolly'); ?></p>
        <p><?php esc_html_e('Copy/paste or manually enter your song lyrics or text into the textarea below, then click Update to save your lyrics.', 'custom-dolly'); ?></p>
        <p><?php esc_html_e('Put each lyric on a new line.  Don\'t leave empty lines.', 'custom-dolly'); ?></p>
        <form action="<?php echo admin_url('admin-post.php'); ?>" method="post">
            <?php wp_nonce_field('customdolly_lyrics_update', 'customdollynoncefield'); ?>
            <textarea name="customdollylyrics" id="" cols="100" rows="30"><?php echo esc_textarea(customdolly_get_lyrics()); ?></textarea><br>
            <input name='action' type="hidden" value='customdolly_submit'>
            <input type="submit" value="Update" id="dollyupdate">
        </form>
    <?php
}

// Fetch the most recent lyrics post and return it as a string
function customdolly_get_lyrics() {

    $args = array(
        'posts_per_page' => '1',
        'post_type' => 'lyrics'
    );
    $query_posts = get_posts($args);

    if ($query_posts) {
        foreach ($query_posts as $post) {
            $the_content = $post->post_content;
        }
    } else {
        $the_content = "Go to Appearance > Custom Dolly to add your custom lyrics";
    }

    wp_reset_postdata();

    return $the_content;
}


// Get random lyric from the latest lyrics post and display it
function customdolly_get_random_lyric() {
    $the_content = customdolly_get_lyrics();
    $lyric_array = preg_split('/\r\n|\r|\n/', $the_content);
    ?> <p id="dolly"><?php
    $random_line = array_rand($lyric_array);
    echo $lyric_array[$random_line];
    ?></p>
    <?php
}
add_action( 'admin_notices', 'customdolly_get_random_lyric' );


// Original CSS from Hello Dolly plugin
add_action( 'admin_head', 'customdolly_css' );
function customdolly_css() {
	echo "
	<style type='text/css'>
	#dolly {
		float: right;
		padding: 5px 10px;
		margin: 0;
		font-size: 12px;
		line-height: 1.6666;
	}
	.rtl #dolly {
		float: left;
	}
	.block-editor-page #dolly {
		display: none;
	}
	@media screen and (max-width: 782px) {
		#dolly,
		.rtl #dolly {
			float: none;
			padding-left: 0;
			padding-right: 0;
		}
    }

    #dollyupdate {
        font-size: 1.2rem;
        padding: .5em 1em;
    }
	</style>
	";
}
And now step by step:
Register Custom Post Type
Ignoring the comment block at the very top, let’s begin with the first function, customdolly_register_post_types():
// Register the lyrics post type
function customdolly_register_post_types() {

	$args = array(
		'public' => false
	);
	register_post_type( 'lyrics', $args);
}
add_action( 'init', 'customdolly_register_post_types');
This function registers a new post type, “lyrics”, with WordPress. Really “lyrics” is no different to a post, page or any other type of post, but by setting up a custom post type it makes it easy to search for our lyrics posts later on and keeps them separate from any other data the user might have.
We use the register_post_type() function, which takes two arguments: first the name of the custom post type – in our case lyrics – and secondly an array of further arguments, which we’ve called $args.
As you can see the $args array contains only one element, public, which is set to false. This means the post type is only available to us as coders and can’t be searched for on the front end or edited from the admin. For development it’s better to change this to true as it allows us to easily look at the posts which our code is creating, or create dummy code. **LIKE THIS**
We hook our function on the init hook, as you should do with custom post types.
For more information on creating custom WordPress post types, **SEE HERE**
Display Random Lyric on Screen
// Get random lyric from the latest lyrics post and display it
function customdolly_get_random_lyric() {
    $the_content = customdolly_get_lyrics();
    $lyric_array = preg_split('/\r\n|\r|\n/', $the_content);
    ?> <p id="dolly"><?php
    $random_line = array_rand($lyric_array);
    echo $lyric_array[$random_line];
    ?></p>
    <?php
}
add_action( 'admin_notices', 'customdolly_get_random_lyric' );
This function hooks into the admin notices action hook, meaning it will display html above the main content on admin pages. We output a paragraph element with the id of “dolly”, containing a random lyric. The dolly id is already styled by the css I stole from the original plugin, so all we need to do is output the text.
First we retrieve the contents of the last update of the lyrics entered by the user using the function customdolly_get_lyrics() (which we’ll come to in a second) and storing it in $the_content.
$the_content now contains the entire textarea field, line breaks included. The next line uses the regular expression /\r\n|\r|\n/ to find the line breaks, and uses the preg_split() function to separate $the_content into the $lyric_array, which is an array containing each line of the lyrics as a separate array element.
The next line of the function uses the array_rand() function to pick a random element from the array. The function stores the element number (i.e. the numeric key, not the value) into $random_line, and the following line echoes out the value of that element, i.e. $lyric_array[$random_line], which we have already wrapped between <p> tags.
Retrieve Most Recent Lyrics Post
// Fetch the most recent lyrics post and return it as a string
function customdolly_get_lyrics() {

    $args = array(
        'posts_per_page' => '1',
        'post_type' => 'lyrics'
    );
    $query_posts = get_posts($args);

    if ($query_posts) {
        foreach ($query_posts as $post) {
            $the_content = $post->post_content;
        }
    } else {
        $the_content = "Go to Appearance > Custom Dolly to add your custom lyrics";
    }

    wp_reset_postdata();

    return $the_content;
}
customdolly_get_lyrics() is a simple custom query and WordPress loop. The arguments for the query in the $args array simply request the most recent post of post_type ‘lyrics’, and the array of query objects is retrieved by the WordPress function get_posts() and stored in $query_posts.
Using conditional logic, if we have posts (by default one single post), a foreach loop will select that first post and retrieve the post_content from the query object $post, and store it in $the_content. If we have no posts (i.e. the user has not yet stored any lyrics) then we set $the_content to be a message telling the user how they can add their lyrics.
wp_reset_postdata() should be called after any custom query so that any subsequent loop will use the default page query, without our custom query interfering.
Finally, we return $the_content to be displayed onscreen in the previously explained function.
Register a New Admin Page
// Register custom admin page for the plugin for administrators
function customdolly_admin_menu() {

    add_theme_page(
        __( 'Custom Dolly', 'custom-dolly' ),
        __( 'Custom Dolly', 'custom-dolly' ),
        'manage_options',
        'custom-dolly',
        'customdolly_admin_page_contents'
    );
}
add_action( 'admin_menu', 'customdolly_admin_menu' );
We can register new pages in the WordPress admin menu using the add_theme_page() function, which hooks onto admin_menu.
The arguments taken by the function are: The name of the page as it will appear between the <title> tags, the name of the page in the admin menu, the admin permissions needed to view the page (manage_options is an administrator or superadmin only permission), the name of the slug, and the function that will run when the menu is selected, which we look at below.
Contents of the Admin Page
// The contents of the admin page - display
function customdolly_admin_page_contents() {
    ?>
        <h1><?php esc_html_e('Custom Dolly', 'custom-dolly'); ?></h1>
        <p><?php esc_html_e('Custom Dolly is a customisable version of the Hello Dolly plugin which allows you to add your own lyrics from your favourite song, film, speech or anything else.', 'custom-dolly'); ?></p>
        <p><?php esc_html_e('Copy/paste or manually enter your song lyrics or text into the textarea below, then click Update to save your lyrics.', 'custom-dolly'); ?></p>
        <p><?php esc_html_e('Put each lyric on a new line.  Don\'t leave empty lines.', 'custom-dolly'); ?></p>
        <form action="<?php echo admin_url('admin-post.php'); ?>" method="post">
            <?php wp_nonce_field('customdolly_lyrics_update', 'customdollynoncefield'); ?>
            <textarea name="customdollylyrics" id="" cols="100" rows="30"><?php echo esc_textarea(customdolly_get_lyrics()); ?></textarea><br>
            <input name='action' type="hidden" value='customdolly_submit'>
            <input type="submit" value="Update" id="dollyupdate">
        </form>
    <?php
}
customdolly_admin_page_contents() will run when the user navigates to the Custom Dolly admin page, and populate the page. The first half is self-explanatory, it’s instructions for the user wrapped in escape and translate functions (you should always escape potentially translated HTML as hackers could create a rogue translation file containing SQL injection).
The second half simply contains the form with the textarea containing the lyrics, prepopulated by customdolly_get_lyrics(). All WordPress POST forms should be sent to admin-post.php, with a hidden field which has a unique value. We will use the unique value to identify the function which processes the information from the POST request, as we’ll see below.
The other crucial field is the nonce field, which generates a ‘number once’ to prevent illegitimate access to our processing script. The function wp_nonce_field() takes care of this for us. It takes two arguments, both of which are optional, and refer to the name of the action we are going to take, and the name of the nonce field. Neither are referenced outside of verifying the nonce, and can be anything we like.
Update the Lyrics
// Create new post with updated lyrics when they are submitted via plugin admin page
function customdolly_update_lyrics(){

    wp_verify_nonce('customdolly_lyrics_update', 'customdollynoncefield');
    $post_args = array(
        'post_type' => 'lyrics',
        'post_status' => 'publish',
        'post_title' => 'Custom Dolly Data',
        'post_content' => sanitize_textarea_field($_POST['customdollylyrics'])
    );

    wp_insert_post($post_args);
    wp_redirect(admin_url('admin.php?page=custom-dolly'));
    die();
}
add_action('admin_post_customdolly_submit','customdolly_update_lyrics');
The final function uses wp_insert_post() to programmatically create a new post in the database. We pass the information we want inserted into the database in the $post_args array. The post_title we could leave blank. post_content is retrieved from the POST data sent from the admin page and sanitized.
Our nonce field is verified to prevent SQL injection, and the whole function is hooked onto admin_post_customdolly_submit. We previously said all admin forms should be sent to admin-post.php. By hooking onto admin_post plus the name we gave the hidden action field, admin-post.php knows which function to run when it receives the data. Because we set the action field to customdolly_submit, it is the function hooked onto admin_post_customdolly_submit which is run when this action field is encountered.